Create a Login Page
Let’s create a page where the users of our app can login with their credentials. When we created our User Pool we asked it to allow a user to sign in and sign up with their email as their username. We’ll be touching on this further when we create the signup form.
So let’s start by creating the basic form that’ll take the user’s email (as their username) and password.
Add the Container
 Create a new file
 src/containers/Login.js and add the following.
import React, { Component } from "react";
import { Button, FormGroup, FormControl, ControlLabel } from "react-bootstrap";
import "./Login.css";

export default class Login extends Component {
  constructor(props) {
    super(props);

    this.state = {
      email: "",
      password: ""
    };
  }

  validateForm() {
    return this.state.email.length > 0 && this.state.password.length > 0;
  }

  handleChange = event => {
    this.setState({
      [event.target.id]: event.target.value
    });
  }

  handleSubmit = event => {
    event.preventDefault();
  }

  render() {
    return (
      <div className="Login">
        <form onSubmit={this.handleSubmit}>
          <FormGroup controlId="email" bsSize="large">
            <ControlLabel>Email</ControlLabel>
            <FormControl
              autoFocus
              type="email"
              value={this.state.email}
              onChange={this.handleChange}
            />
          </FormGroup>
          <FormGroup controlId="password" bsSize="large">
            <ControlLabel>Password</ControlLabel>
            <FormControl
              value={this.state.password}
              onChange={this.handleChange}
              type="password"
            />
          </FormGroup>
          <Button
            block
            bsSize="large"
            disabled={!this.validateForm()}
            type="submit"
          >
            Login
          </Button>
        </form>
      </div>
    );
  }
}
We are introducing a couple of new concepts in this.
-
In the constructor of our component we create a state object. This will be where we’ll store what the user enters in the form.
-
We then connect the state to our two fields in the form by setting
this.state.emailandthis.state.passwordas thevaluein our input fields. This means that when the state changes, React will re-render these components with the updated value. -
But to update the state when the user types something into these fields, we’ll call a handle function named
handleChange. This function grabs theid(set ascontrolIdfor the<FormGroup>) of the field being changed and updates its state with the value the user is typing in. Also, to have access to thethiskeyword insidehandleChangewe store the reference to an anonymous function like so:handleChange = (event) => { }. -
We are setting the
autoFocusflag for our email field, so that when our form loads, it sets focus to this field. -
We also link up our submit button with our state by using a validate function called
validateForm. This simply checks if our fields are non-empty, but can easily do something more complicated. -
Finally, we trigger our callback
handleSubmitwhen the form is submitted. For now we are simply suppressing the browsers default behavior on submit but we’ll do more here later.
Let’s add a couple of styles to this in the file src/containers/Login.css.
@media all and (min-width: 480px) {
  .Login {
    padding: 60px 0;
  }

  .Login form {
    margin: 0 auto;
    max-width: 320px;
  }
}
These styles roughly target any non-mobile screen sizes.
Add the Route
Now we link this container up with the rest of our app by adding the following line to src/Routes.js below our home <Route>.
<Route path="/login" exact component={Login} />
And include our component in the header.
import Login from "./containers/Login";
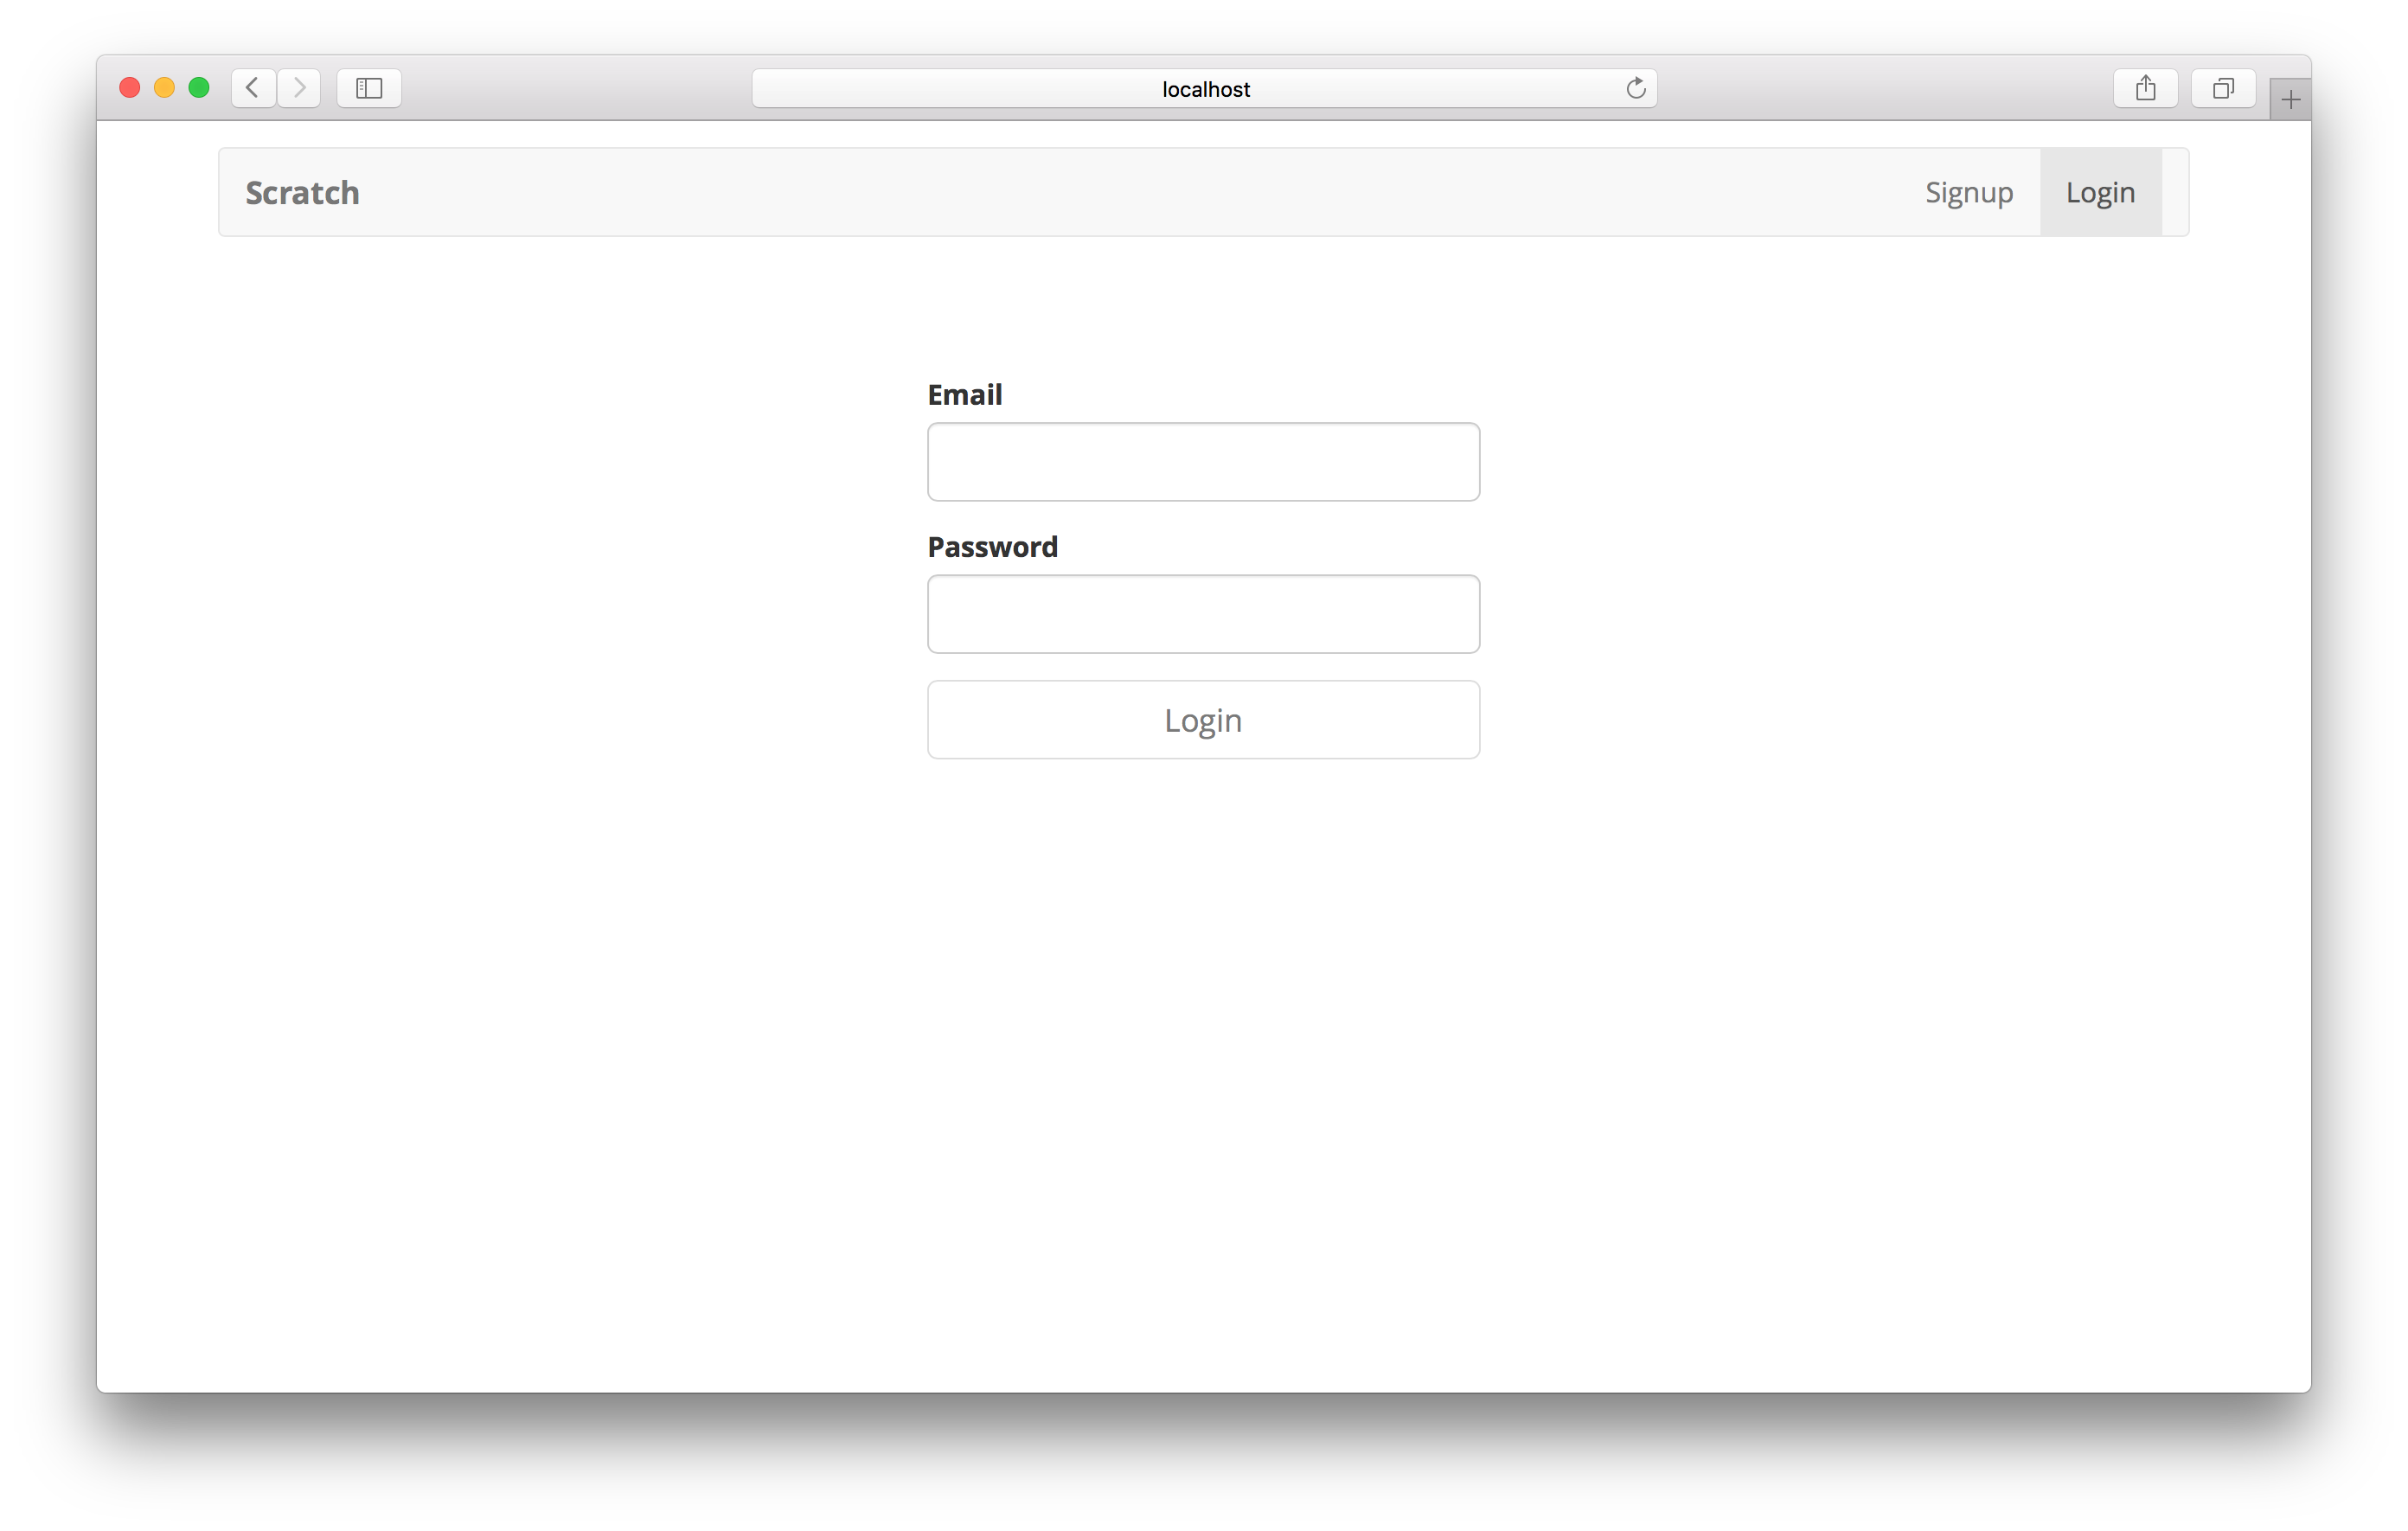
Now if we switch to our browser and navigate to the login page we should see our newly created form.
Next, let’s connect our login form to our AWS Cognito set up.
If you liked this post, please subscribe to our newsletter and give us a star on GitHub.
For help and discussion
Comments on this chapterFor reference, here is the code so far
Frontend Source :create-a-login-page